 Ever felt limited by stock drum sounds found in every DAW? Crafting your own drum samples throws open new doors for creativity. You can experiment with textures, layer oneshot hits, or make something that’s completely unique to your tracks. If you want drums that stand out, designing your own samples is the way to go.
Most producers start with prepackaged drum kits. That’s fine, but it doesn’t help you build your own sound. Making drum samples from scratch lets you shape kick, snare, hat, tom, or percussion sounds exactly the way you hear them in your head. Whether you want crisp trap hits or dusty analog warmth, it all starts with design.
This step by step guide breaks down how to design your own drum samples. The tips work for any genre. As you learn, you’ll unlock new creative possibilities and gain full control over your sound.
| This post contains affiliate links. If you make a purchase through these links, I may earn a commission at no extra cost to you. It’s a simple way you can support my mission to bring you quality content. |
Step 1: Decide What Drum Sound You Need
Before touching any hardware or software, it helps to figure out which drum sounds your track actually needs. Building the right sample for the job saves time and keeps you focused.
Some questions to always ask yourself:
- Do I want an aggressive, punchy kick or a soft, round one?
- Should the snare sound clean and bright or dirty and crunchy?
- Will this drum sit upfront or in the background?
- Should it be acoustic, electronic, or somewhere in between?
- What vibe am I trying to create; hip hop, house, pop, or lofi?
Take notes or gather reference sounds from tracks you love. These help you reverse engineer the tone, envelope, color, and punch you need. Comparing and matching characteristics you like can help you set a target for your original sample. Over time, this habit speeds up your process and makes your drums fit your music even better.
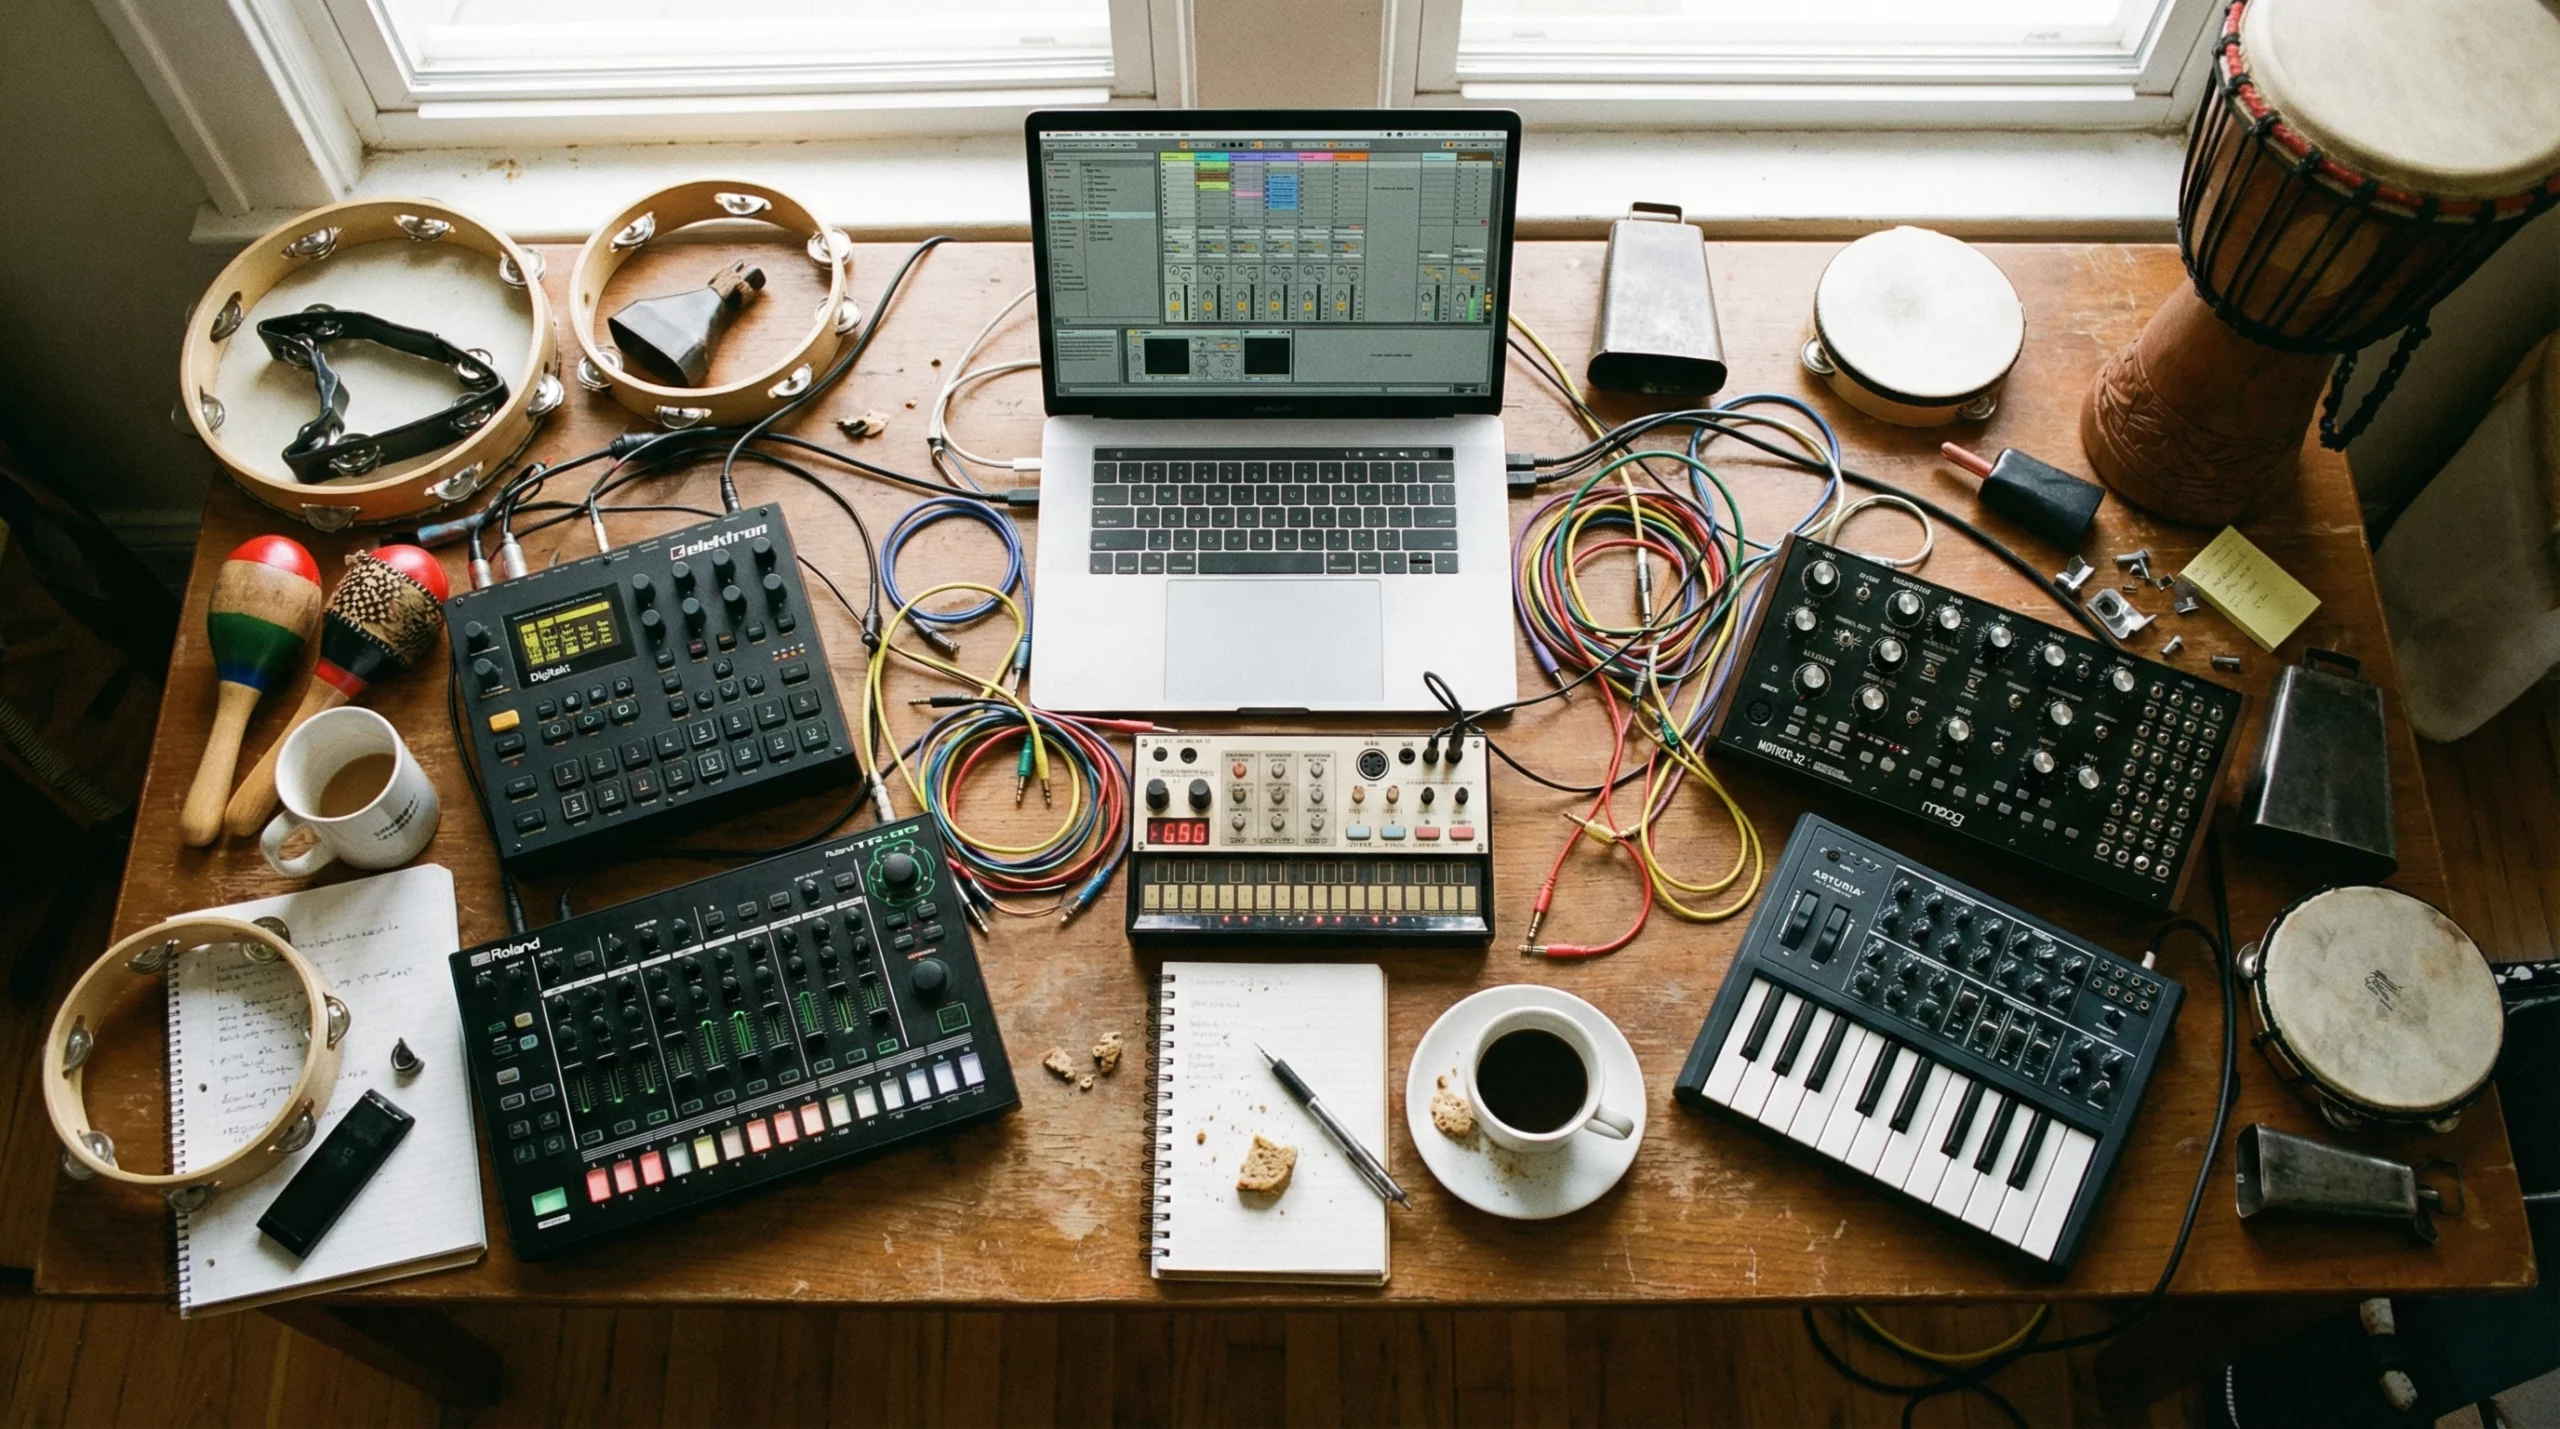
Step 2: Choose Your Tools and Sound Sources
There are loads of ways to cook up drum samples. No rules here, so grab whatever tools inspire you and start exploring.
Popular options:
- Synth Plugins: Software like Serum, Massive, or Ableton’s Operator can synthesize everything from classic 808s to weird, clicky percussion.
- Field Recording: I’ve used phone mics, handheld recorders, or even a laptop mic to capture household sounds. A slammed door or a snapped pencil can become a killer snare with a little work.
- Drum Machines: Hardware drum machines, such as the Roland TR8S, Elektron Analog Rytm, or Behringer RD-9 let you tweak sounds in realtime and sample the results.
- Found Sounds: Sample old vinyl, cassettes, or YouTube clips for dusty breaks and raw textures. Just make sure you’re clear on copyright if you release them.
- Layering: Combine a clapped hand, a drum synth, and a shaker to create a totally fresh clap sound. Mixing natural and electronic layers can make a drum sample stand out.
You don’t need expensive gear. Some of my favorite drums started with a phone voice memo and free plugins. Also, don’t be afraid to use noises or accidental sounds; small thuds, tapping on a mug, or street sounds can all be turned into percussive elements.
Step 3: Shape and Process the Sound
This is where the magic happens. Once you have a basic sound, start sculpting the envelope, pitch, tone, and texture until you get something that feels right.
Common processing steps:
- Trim and Fade: Cut away silence, fade the sample in and out, and trim any clicks or digital noise. Tight edits help your samples hit clean.
- Envelope Shaping: Adjust the attack and decay so your drum hits with just the right punch or snap.
- Pitch: Tune the sample up or down. Higher pitch adds snap, lower gives weight.
- EQ: Boost the 100-200 Hz range for body, cut out boxiness, or brighten the highs.
- Compression: Squash peaks for consistency or add punch to the transient.
- Saturation/Distortion: Warm things up, add grit, or make synthetic drums sound more real.
- Layering: Blend two or more samples to combine their best qualities, maybe one for attack and another for low end. Nudge each layer in time for a fatter, wider sound.
Try to work fast and not overthink it. If something sounds off, just try a different approach or new source sound. Try not to get stuck tweaking one sound endlessly; finish a few and compare later. The goal is to build your skills batch by batch.
Step 4: Design for Context, Not Just Solo
A drum sound can feel incredible in isolation, but totally disappear in a mix. I like to check my sounds with the rest of my track as early as possible. This helps me adjust the tone, decay, and frequency so it fits perfectly.
Tips for contextbased tweaking:
- Play the sample over a basic groove or melody. Does it cut through, or get lost?
- Shorten the decay if it’s muddying up the low end.
- Brighten up hihats or shakers if your track sounds dull.
- Use gentle reverb or delay to blend the sample in with other elements.
If you’re not sure, try A/B testing your sample against a commercial drum kit on the same groove. Tweak until yours hits just as hard, or harder. Context is everything; a drum that sounds huge solo may need more midrange or less boom when in the mix. Reference pro tracks to stay on track.
Step 5: Bounce, Name, and Organize Your Samples
Once you’re happy with a drum sound, bounce it out as a WAV file. Use at least 16bit, 44.1 kHz settings for clean results. Highquality samples are easier to mix later.
Quick organization tips:
- Label by type and vibe (e.g., “CrunchyTrapSnareBright.wav”).
- Make folders for kicks, snares, hats, and percussion.
- Add details like BPM if you design loops.
- Back up your collection to the cloud or an external drive. Keeping your own sounds safely stored means you can always rebuild or expand your library later.
This makes it super easy to grab and audition sounds when you’re building future beats. You’ll build your own library in no time. Over months of practice, your naming habits and file structure will make producing more fun and less stressful.
Step 6: Build a Personal Sample Library
The best producers develop a goto collection of their own original drum samples. Your personal library gives you:
- Easier, faster beat making because you know your own sounds well.
- Unique drums that set your tracks apart from the pack.
- Full control over copyright, commercial use, and sound design.
Take time to refine old samples, delete ones you don’t use, and add new creations. Over the months, you’ll put together a collection no one else has. That’s how you carve out your own sound.
Additionally, you can challenge yourself to recreate drums from your favorite songs; it’s a great way to build up your ear and understanding of production techniques.
Over time, as your collection grows, you’ll become more efficient and approachable to collaborations since you have a library ready to go.
Questions and Troubleshooting
Can I design drum samples with free software?
Absolutely. Tools like Audacity, Reaper, or Cakewalk, plus tons of free plugins, can get you started. Even your DAW’s stock plugins are powerful with the right approach. Plenty of forums offer advice and presets to help you experiment with each tool.
How do I get my drums to sound punchy?
- Shape the envelope: a supershort attack and tight decay make kicks knock.
- Use parallel compression or a transient shaper for extra snap.
- Layer a clicky sound (like a closed hihat or rim shot) for more transient attack.
My drums sound thin or weak. Any fixes?
- Add subtle saturation or light distortion for fullness.
- Stack lowend layers under kicks and snares.
- Tune layers until they blend naturally.
Level Up: Challenge Yourself
Designing your own drum samples pushes you to listen closely, experiment nonstop, and trust your ears. Every new sound shapes your signature style. Jump in, break some rules, and don’t settle for ordinary drums. Start making your own today; let your beats hit as hard as you do. If you ever feel stuck, check out interviews with professional producers or online tutorials to help you find inspiration. Building drum samples is a lifelong skill that feeds all your music making adventures.