 Nothing beats the energy of a live instrument in a home studio. That real, organic sound brings any song to life, but getting a clean, punchy recording at home can feel pretty tricky. Background noise, cramped space, odd room sound—all these challenges can and probably will pop up when you aren’t working in a fancy pro studio.
If your first tries turn out muddy or tinny, you’re definitely not alone. I’ve had my share of takes ruined by reflections from bare walls, random house hums leaking through, and microphones that seemed uncooperative. Luckily, with a handful of smart choices and a little patience, nailing live instrument recordings at home gets much easier. It can even become a fun part of making your music.
Whether you’re recording guitar, drums, keys, or anything in between, these practical tips can help you snag tracks that sound like they came from a bigger studio. Want to take your home recordings up a notch? Here’s the stuff I’ve picked up from lots of trial and error—so you can avoid the same pitfalls.
Figure Out Your Recording Goals First
Before you start setting up your gear or dragging furniture around, get clear about what you want out of your sessions. Are you working on demos, prepping something for release, or just experimenting? Locking in your goal early saves a lot of time and stress down the line.
Questions That May Help You Get Clear:
- What instrument am I recording and how will it fit into the mix?
- Do I want a super clean sound or something with more vibe and room character?
- How many layers or tracks am I planning to add?
- Will I record multiple musicians at once or one by one?
Knowing what you want shapes every decision after that—from what mic to pull out, to whether you need to quiet down the street outside, to how you position your cables. Once you’re focused on the sound you want, everything else falls into place.
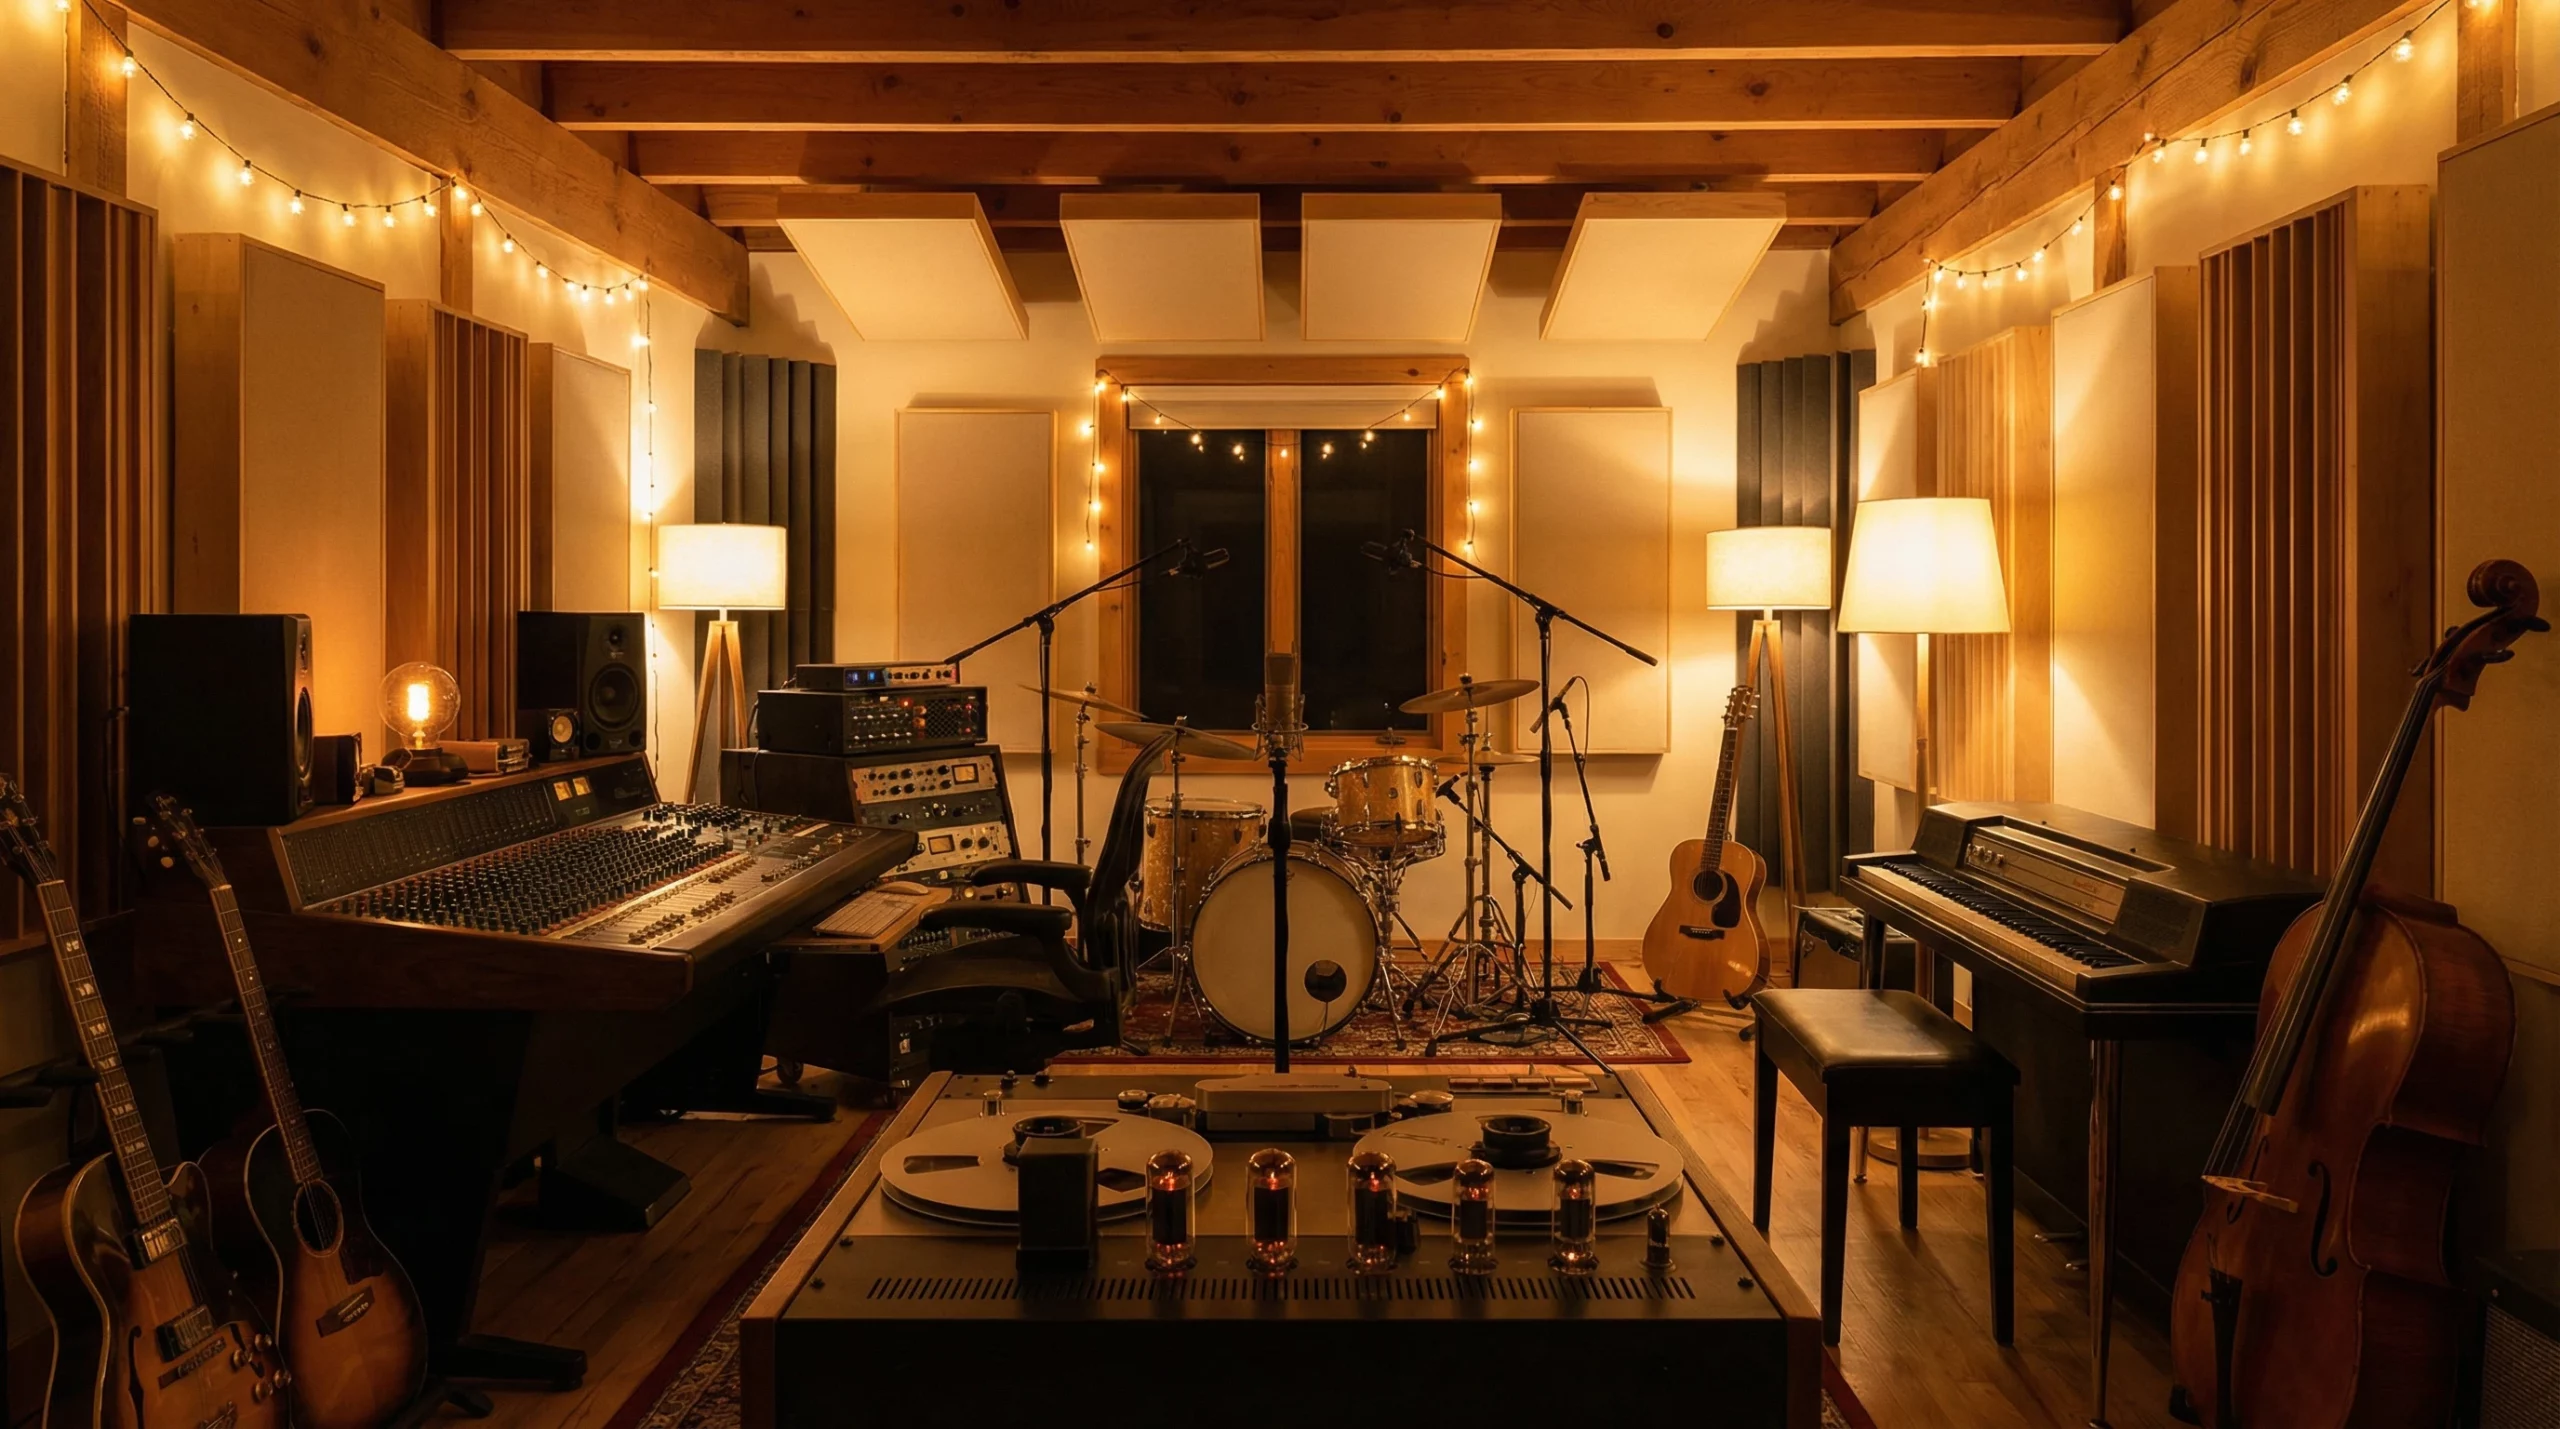
Choose the Best Room In Your House
The room you choose shapes your final sound. Not all rooms are created equal, even if you’re limited to what’s available. Look for a quiet space with the least amount of echo. Bedrooms filled with carpets, bookcases, or curtains usually sound much better than empty, hard-surfaced rooms.
What Makes a Room Work Well?
- Soft surfaces: Carpets, rugs, curtains, and cushions absorb echoes and make the sound tighter.
- Away from noise: Choose a room as far as possible from the street, kitchen, or any buzzing appliances.
- Plenty of room: You need enough space for yourself, your instrument, and gear without everything getting cramped.
If your only option is a space that’s a bit live or echoey, don’t stress. Hanging up moving blankets, stacking pillows around a mic stand, or even tossing a heavy comforter over doors or windows can really improve the sound. It’s a cheap fix—but you might be surprised by how big a difference it makes.
Pick the Right Gear Without Overthinking
You don’t need racks of expensive gear. A solid audio interface, trustworthy headphones, and a couple of well-chosen microphones go a long way. For most instruments, a largediaphragm condenser or a classic dynamic mic like the Shure SM57 is a solid starting point.
My GoTo Gear List:
- Audio interface: Focusrite Scarlett, PreSonus, or anything reliable and clean.
- One good condenser mic: Versatile for vocals, guitar, piano, and even drum overheads.
- One trusty dynamic mic: Perfect for amps, snares, or other loud or midrange-heavy instruments.
- Closed-back headphones: Stops click tracks from bleeding into takes.
- Mic stands and pop filters: Small investments that help a bunch.
If you’re watching your budget, secondhand gear can be just as dependable as new. Look up reviews, test things out if you can, and remember—a creatively placed, basic mic often beats a misused fancy one.
Master Simple Mic Placement Tricks
Getting creative with mic placement is one of the fastest ways to better recordings. Move your mic just a few inches in any direction, and suddenly the sound can really change. I usually start with the mic about 6 to 12 inches from the instrument and tweak from there by ear.
Super Useful Placement Tips:
- For acoustic guitar: Point the mic at the 12th fret for a balanced tone. If it’s too close to the soundhole, it may sound boomy. Too far towards the neck, and it might feel too thin.
- For vocals: Put a pop filter a couple of inches from the mic, and have the singer stand about 6 inches back for clarity and fewer pops.
- For amps: Put the mic closer for more edge and definition, or angle it a bit for a warmer vibe.
- For percussion: Overhead mics grab natural sound. Setting a towel on a snare drum can help tame unwanted room noise, too.
Experiment by tracking short takes and listening back with fresh ears. Often, what feels great in the room doesn’t match what ends up recorded, and vice versa. Take your time and trust your ears.
Get Your Levels Right (And Prevent Clipping)
One of the fastest ways to ruin a take is digital clipping. When your input level gets too high, you’ll hear harsh distortion that’s almost impossible to fix later. Instead, set your levels so that peaks are at -6dB to -12dB in your DAW. It might not look loud, but that leaves headroom for unexpected peaks.
Quick Steps for Setting Levels:
- Play or sing at the loudest part you’ll be recording.
- Keep an eye on your interface or software’s meters while you go.
- Lower the input gain until you’re always under the peak—no red lights.
It’s tempting to dial up the input for bolder playback, but clean, controlled gain is much easier to work with later on. Plugins can always crank the volume, but they can’t polish away ugly digital clipping.
Treat Your Room (Even Cheaply)
You don’t need pro studio foam everywhere to make a real difference. Even on a tight budget, a handful of simple tricks can reduce rings, echoes, and household distractions.
- Hang thick blankets or quilts on walls to cut flutter echoes.
- Stand a mattress vertically in a corner. This works especially well for vocals.
- Lay down a thick rug if you’ve got hardwood or tile floors.
- Fill shelves with books to help scatter and absorb sound waves.
Do a sweep around your room before you start: close closet doors, silence anything buzzing or ticking, and turn off extra fans and gadgets. Each step is small, but together they make a big sonic difference.
Stay Organized (Your Future Self Will Thank You)
Tidy up cables, name your files clearly, and label tracks in your DAW—this saves you a ton of headaches when assembling your song later. Keep a notebook nearby to jot down which mics, positions, and settings you used. If you stumble upon a killer sound, you’ll want to recreate it without hunting through a dozen failed setups first.
Common Questions & Troubleshooting
My room is super noisy. What can I do?
Try recording late at night or early in the morning, when the neighborhood is quietest. If daytime is your only option, tightly close windows and doors, and unplug any buzz-prone gadgets. Dynamic mics pick up less background noise, so they’re a smart pick for challenging rooms.
Everything sounds distant and washed out. How can I fix it?
- Move the mic closer to the sound source.
- Add more soft stuff—blankets, pillows—around you.
- Skip reverb while tracking; too much effect in a small room can muddy everything up.
My recordings are too quiet. Is that a problem?
No worries—a quiet but clean recording can always be turned up later as long as it’s distortion free. A clean, low-noise take is a safer bet than risking noisy, clipped audio.
Wrapping Up and Moving Forward
Recording live instruments at home takes creative fixes and a good sense of adventure. Don’t wait for everything to be perfect—just start, listen back, and tinker along the way. Every hiccup is a fresh chance to invent a workaround. Pick up your instrument, set your mic, and see what cool sounds you can catch right where you are. Think you can get your home sounding like a studio? It’s possible—the next great track might kick off right in your living room.
If you want to dig into more advanced setup tips, or need ideas for gear upgrades when you’re ready, keep coming back. There’s always more to learn and new tricks to try. Happy recording!